WARNING: This walkthrough covers 100% of the base game and both DLCs, and as a result contain major spoilers. This walkthrough also assumes you have played Black Souls 1 and will contain references / spoilers. Proceed at your own risk.
I'll try to include as many items as I can, but there's so many that it would take far too long to identify each one. Also, unless the guide says otherwise, do not rape or kill any NPCs.
The intro sequence begins by asking you for your name. Go ahead and enter it. If you want some interesting easter eggs, try entering "Node," "Lewis," "Carroll," "Grimm," or "Leaf" for a name.
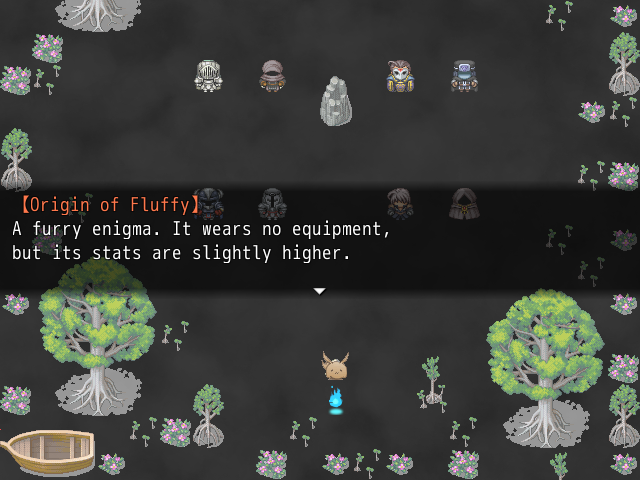
There are nine different classes you can choose from. They become mostly irrelevant by the late game, so feel free to pick whichever you prefer. I'm going to choose "Fluffy" for this walkthrough.
Don't worry about H-scene choice, it's toggleable. Finish the conversation and start the opening sequence. Feel free to skip the opening cutscene if you don't want to watch it, you won't miss anything. Don't worry about choosing which Alice you prefer either, this can be changed later.
If you watched the cutscene, try to leave the area through the left side. There will be a one tile-wide opening you can exit through. You'll fall through the floor into the next section of the game. If you skipped the opening, you'll just wake up there.
Press the door three times. A guy will fall from the ceiling. Examine his corpse and grab the key.
Once you're through the door, do not fall off the ledge or you'll instantly die. Make your way to the top, then proceed through the next door.
If you died, go to the north of the room you're in, light the bonfire, then warp back to the Crash Chamber.
On entering the Rabbit Hole, you'll be greeted by some jovial music. Examine any corpses you see (the black bodies laying around). Don't go past the Cheshire Cat yet.
Make sure you equip the Broken Sword if you don't have something better equipped.
After you're finished digging through corpses, it's time for our first enemies. Go up to the rabbits, and after their speeches choose "Kill."
Take note of the door with the bloodstain in front of it. While you can't go through it yet, it will become a shortcut later
Enemy Name: Corpse-Eating Rabbit Abilities: 38 SoulsAfter you've finished your rabbit killing spree, go to the left and talk to the Cheshire Cat. Do not try to kill or rape her. After speaking with her, she'll disappear, but reappear when you try to turn the corner. Talk to her again. When she offers you a gift, choose the Master Key.
With the master key, go through the red door to the left of the Cheshire Cat. Stay out of the center of the room or you'll spawn a Nightmare Spirit who will destroy you right now. Loop around the outside to the upper right corner and light the bonfire, sprinting past any headless knights.
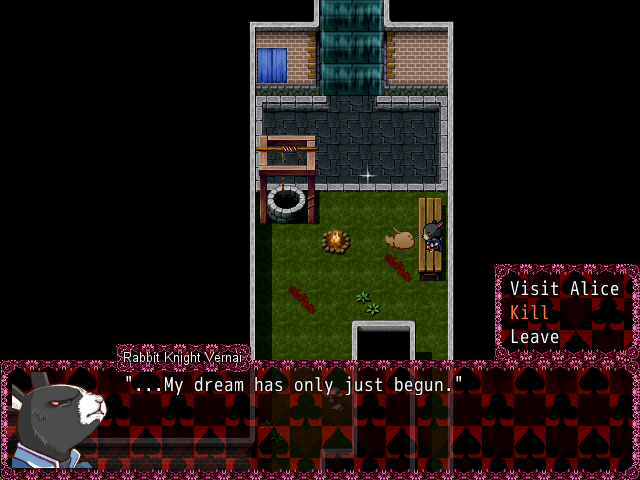
Talk to the Vernai who's sitting on the bench. Keep talking to him until you've exhausted his dialogue. He's an important NPC and part of a long fairy tale chain with a powerful weapon at the end of it, so don't kill him.
Now that you have the bonfire lit, you can try fighting the soldiers. Unlike the rabbits, these guys will respawn if you leave and re-enter the area. If you want an early farming spot, and can kill them, these guys are a good break point to do so.
Enemy Name: Headless Soldier Abilities: ThrustThese guys are a LOT tougher than the rabbits, so don't be surprised if you can't kill them yet. They follow the same pattern, though, making them very predictable. The pattern goes Look Around -> Thrust, then repeats. As long as you Guard after they use Look Around, you should be able to take them down.
I found them a bit too tough to deal with using Fluffy, who starts with no gear. We'll come back later to farm them for their Green Souls, so don't worry if you can't kill them yet.
Before leaving the area, make sure you grab every item on the outside, making sure to stay out of the middle.
Do NOT use the Charcoal Pine Resin until we reach the boss. There's another Rabbit on the far left side to deal with. After killing it, return to the hall where the Cheshire Cat is.
Now that you're back in the corridor, continue down the left side and you should come across two new enemies.
Enemy Name: Headless Corpse Abilities: 48 SoulsThe Headless Corpses are real slow, making them only slightly stronger than rabbits. Just make sure you guard before their turn and you'll be fine. These will be important to farm later when upgrading the Broken Sword, so we'll be coming back here.
Enemy Name: Abilities: Throw Head 338 SoulsWerewolves move harder and hit faster than the Headless Soldiers. The upside is when they throw their heads, they don't attack. Make sure you guard when they find it, because that's when they attack. We'll be farming these a lot before the first boss, so get used to their attack pattern.
If you find yourself running low on health, just run back to the bonfire.
Since I'm playing as Fluffy, I'm going to wait until until upgrading the Broken Sword to begin farming the Werewolves and Headless Soldiers. Go ahead and gather all the items in the Corridor by searching the corpses. Stay out of the far right hallway for now.
After gathering the items in the area, we're going to purposefully kill ourselves. We need to grab an important bonfire so we can spend our souls to level up.
Once you die, a few important mechanics happen.
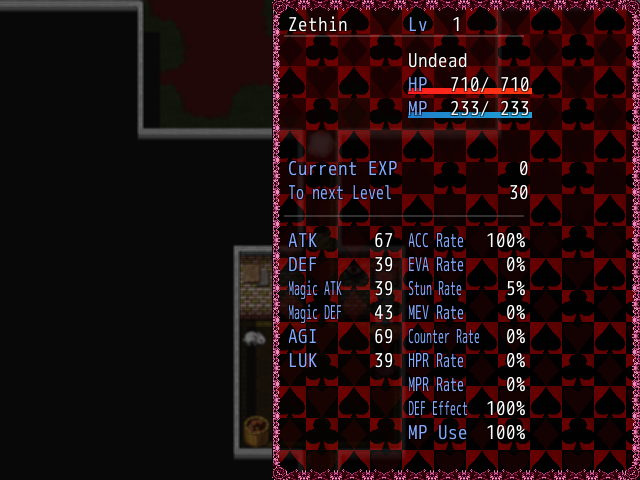
First, you'll arrive in the Dream Library. You'll also receive one Black Soul which is the equivalent of an All Stats Up when used. If you press Escape, there'll be a new swirly icon underneath your level. This indicates you're in the "Ghost" state. This is similar to death in Dark Souls, where your HP will be cut upon death and you won't be able to use summons. This also means Nightmare Spirits can no longer invade, though. We can restore ourselves by using an item we'll come across later.
Grab the items just below where you spawned in. You'll receive "Herb Flasks" which are this game's equivalent to Estus.
Next, go ahead and use all of the Souls you've acquired (the stat raising ones, not the ones that give you souls / currency). You'll notice your SEN has been increasing and decreasing. While this won't have much impact right now, it's a very important part of the game, and we'll be utilizing it as our main farming source later on.
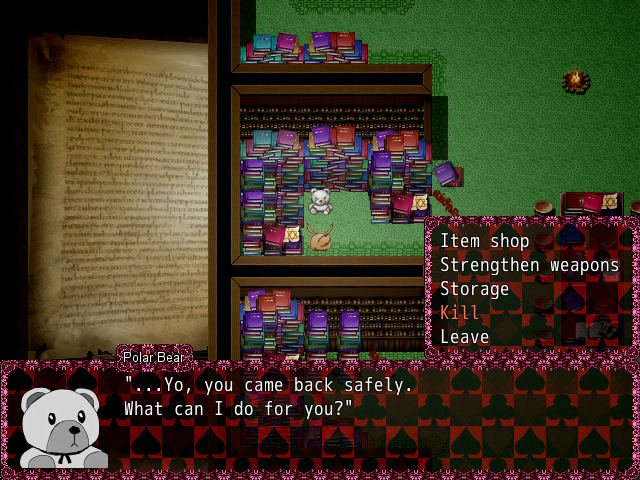
After you've used all the souls, talk to the bear on the left side of the room. After talking with him, open the shop menu, then exit. The bear will give you some souls out of pity.
There's something very important we need to do before we go past the boss room, or we'll be locked out of the True End. Warp to the Crash Chamber, and leap off the edge over and over. Don't forget to grab your souls from when you killed yourself before doing this. This will give us the Black Souls we need to lower our SEN to 0.
Go ahead and keep doing this until you have enough Black Souls to lower your SEN below 0. If you want, you can keep farming them to give yourself a stat boost for the first boss. You'll notice once your SEN drops below 0, a new monster appears.
Enemy Name: Abilities: OmnistrikeThese enemies are incredibly difficult to hit. But their low defense makes them extremely vulnerable if you do land a blow. They don't have much going for them other than their high evasion rate. Because of the large amount of souls these drop, they'll make for a good farming spot later on.
For now, it's best to ignore these, or use them to die and farm Black Souls. If you get stuck in a death loop at the top of the bonfire, escape from battle which will give you enough frames to access the bonfire's menu. This may take a few attempts, so keep trying.
Warp back to the Rabbit Hole and run south. You'll see a new door has appeared on the wall. If you go through the door, you'll arrive at a new area called the Mental Ward. Ignite the bonfire there, then warp back to the Rabbit Hole again.
At this point I farmed for quite a lot of Rubbish to upgrade the Broken Sword with. The two Headless Corpses reappear every 5 seconds roughly, so just keep farming them.
Again, ignore the far right hallway. There's a powerful hidden boss at the end of it that you won't be able to kill just yet.
Go through the top hall and keep going through the doors until you reach the end. This is our first official boss room. Grab the blood vial in the corner, then proceed through the fog for our first boss battle.
Lucky for us, this boss is a breeze. He only has one real ability to watch out for, which is Slice Neck, his ultimate. He'll start to glow around him when he's preparing the attack. When he does, use Break which is under your Skills tab. This will both interrupt the skill and stun him.
Otherwise, use the charcoal pine resin to burn him down with your attacks. He should go down fairly quick. I managed to three-shot him using Self-harm with a critical hit.
As a fair warning, we will miss on some items here because of our SEN being so high. Once we restore our SEN you'll be able to return and grab any items missed. Nothing we'll miss here is incredibly important regardless.
Once you've killed the boss, you'll obtain the Soul of the Headhunting Beast. Much like Dark Souls, these boss souls can be traded for unique weapons later, so don't use them.
Proceed through the door and down the bridge. Again, we'll miss on some corpses here, don't worry about it. Trying to go down the stairs at the end of the bridge will cause Red Riding Hood to appear.
!IMPORTANT!: If Red Riding Hood does not appear and talk to you, reload your game, then use more Black Souls until it's below 0 or else you'll be locked out of the True End.
Don't bother talking with Detective Holmes (the wolf guy) yet. He's part of a quest, but trying to talk to most people with SEN this low will only cause their text to be garbled. Go to the bonfire, light it, then warp to the Dream Library.
Once in the library, you'll see a new NPC has appeared. This is Node, our Fire Keeper equivalent. Go ahead and talk to her. She'll tell you about the four Nightmares that we need to kill. Once she's finished talking, use your souls to level up.
Next we're going to fix our SEN. Go to the History Room by going to the bottom right corner of the library, then interacting with the book on the table next to the lamp. Interact with the heart and disable the H-scenes. You should see a speech bubble with three periods instead of a heart.
Leave the History Room and return to the Dream Library. Next, you're going to rape Node. A lot. Keep doing it until your SEN reaches 31 or higher. Don't raise it too high because we'll be lowering it again shortly. Go to the bonfire and warp back to Lutwidge Town.
Feel free to talk to the Cheshire Cat, then start grabbing items. There's a lot, so take your time. You should also talk to Holmes and exhaust his dialogue. He'll give you some health items.
After you're finished talking and gathering items, go to the left of the bonfire, where you'll find five candies hidden in the wall.

Now head south and into the next zone. There's an Herb Flask on the corpse, so grab it. We'll come back to scavenge everything else later. Run directly south and you'll come across two new sets of enemies.
Enemy Name: Abilities: Blood Vial 150 SoulsThey don't pose much threat, you're better off ignoring these unless you plan on farming Green Souls. There's actually two variations of this enemy, but the second variation drops a Blue Soul instead.
Enemy Name: Swollen Giant Abilities: 410Once you're in the sewer, talk with the frog. Once you're finished, make sure to kill him. He'll drop Fairy Tale Fragment 3 which we need to 100% the Library.
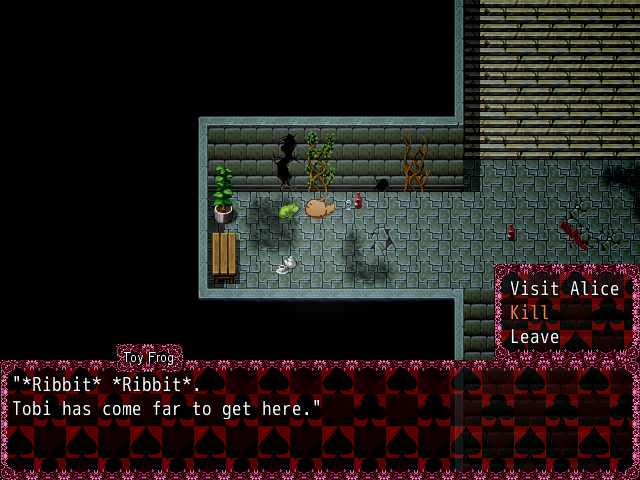
After he's dead, start collecting items in here. Do not jump off any ledges that don't have a ladder you can use.
For now, keep going by making your way down the ladder. We need to grab an important bonfire so we can spend our souls to level up.
A new enemy will show up at the bottom of the ladder.
Enemy Name: Abilities: Spear ThrustThese will be good if you want to farm up some Ashen Souls. Again, they should pose little to no threat.
At the bottom there'll be a side room to your left. Go in it, then up the ladder to fight a monster guarding the Evil Eye Ring.
Enemy Name: Abilities: 390 SoulsIf you keep going you'll reach another room on the left with a serpent blocking some pine resin. Finally you'll reach a third room on the left with a bloodstain in front of it. Step inside the entrance, but do not move past the first tile. Some bats will spawn. Just walk very slowly through this room and you can avoid the fights. You'll get a nice set of gear at the end of it.
Grab the item at the bottom of the room, but do not jump off the edge. Go through the room on the right this time, then up the ladder.
Once you're outside, you'll come across a new enemy.
Enemy Name: Abilities: 250 SoulsYou can choose to farm the clothes if you want, they aren't that great. Enter through the open gate and you'll arrive at Tenniel Bridge. Talk to Griffy who's sitting on the wall.
After talking with her, fall through the bridge by going down the left side. You'll wind up back in the sewer. with some new items around you.
Once you leave, you'll be spit back out into the sewers. Run back to the bridge and talk to Griffy again. She'll give you a Mysterious Shard. Talk to her once more, then go down the right side of the bridge this time. You'll get a Rabbit's Key from the chest.
We need to die some more now, so travel back to the Crash Chamber and get enough Black Souls to lower your SEN below 0. The quick way of getting back to the bonfire is just falling through the bridge again. Make sure you spend your souls first (or just recover them) so you don't lose them all.
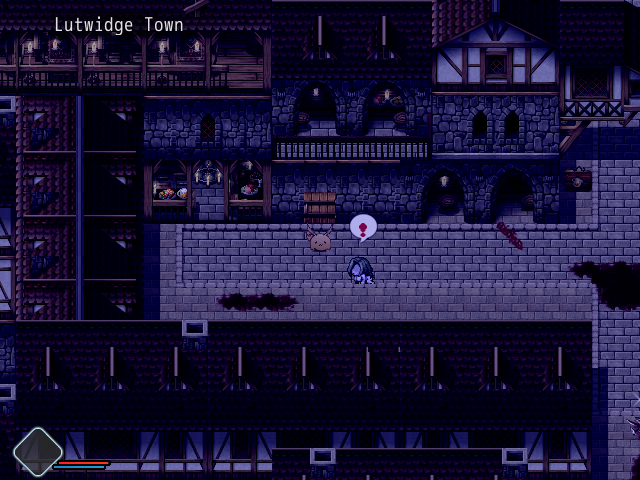
After lowering your SEN to below 0, warp back to Lutwidge Town. Save first, then go south like you're going to the sewer, but this time run east instead.
You should come across a set of stairs. At the top, there'll be a Kidnapper. You should not try to fight him or he'll warp us way out of the way. If you fight him and lose, reload your save and try again. All you need to do is run up the left side, ignore the two items that serve as bait (it's a couple of colored souls).
You'll come across a Werewolf with some items, then at the top there's a burning house. You'll get The Little Match Girl's fairy tale and the Match-Seller's Clothes outfit. In the top left corner, there's a somewhat hidden path with a Blue Soul. In the upper right corner, there's a dog guarding a Yellow Soul.
Go back to Node and raise your SEN to over 100 because we're about to start another quest chain.
Warp back to Lutwidge Town. This time go to the far west side, then down once you hit an intersection. You'll see an NPC at the top of some stairs. Keep going down and to the left and you'll come across a tavern.
Make sure to grab the Roasted Cheese from the bottom right table. Talk to all the NPCs, then fight the Failed Work in the upper left corner. Make sure you talk with Drumstick, the chicken, sitting at the bar. Also talk with Bunny Girl Marie, and when she asks you a question, tell her "Yes." Next, kill the Grasshopper sitting at the bar. He'll give you the second Fairy Tale piece.
Leave the Tavern, then go up past Blackwell until you reach a set of doors. Interact with them to enter the next area. We'll come back to Lutwidge later.
If you went through the door in the Rabbit Hole earlier, you'll recognize this place. Talk to everyone in the lobby, then go through the upper right door. The receptionist sells Prescription Drugs that raies your SEN, don't bother with them.
Once you're through the door, you'll arrive at the bonfire we lit back in the Rabbit Hole section. Save before you start walking through doors.
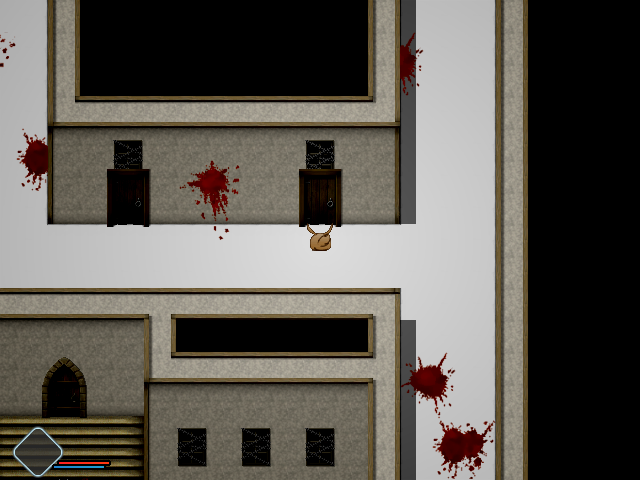
There's only a couple of doors we can really explore at first. Once finished, go to the bottom right, through the bloody door. There's a Large Ore Shard and Scent of a Girl in the room, so make sure to grab those. Afterwards, flip the switch at the back of the room. Doing this summons a new enemy for us.
Enemy Name: Abilities: 1,000 SoulsThese are easily the strongest enemies we've faced so far, stat-wise. To top it off, their attacks inflict Madness, which does significant damage to your HP every turn. If you want to farm Four-Leaf Souls, come back later.
After summoning the Nurses throughout the Mental Ward, leave the room, then go to the upper right corner this time. You should see a couple of NPCs appear, then disappear. We'll come back for them, so for now, just keep going forward through the hall.
After running along the wall, you'll arrive in a room with several doors. There's a couple we'll be visiting, but first, go to the door in the far upper right corner. Once inside, immediately exit. You'll be on the wall again. Immediately go back through the door and you'll arrive at a familiar location if you played Black Souls 1.
Before going inside, go behind the house and grab the Herb Flask (M) and Magistone. Go inside the house and you'll receive another Fairy Tale. You'll also get some good sorceries.
The game will drop you off back in the room you were in before. Instead of immediately leaving, go straight. You'll be in a room with a bunch of beds. Go straight again where you'll arrive in a room with a girl. Save.
Run past the girl and grab the chest. It has one of the strongest weapons in the game: Storm Ruler. Once you've grabbed it, feel free to die because we're going to do some farming. Warp back to the Dream Library and upgrade Storm Ruler, then warp to the Crash Chamber.
Lower your SEN to below 0. One of the special abilities of Storm Ruler is its 100% guaranteed hit rate. This means we can easily kill the eyes now for insane amounts of souls using Storm Ruler's skill. Once the enemies start becoming too easy, go to the Dream Library and interact with the statue in the upper right corner. You can raise the difficulty which will increase the number of souls dropped. Just don't forget to set it back to 0 when you're done.
Once you're finished, raise your SEN back above 30, then head back to the Mental Ward. Go back to the room with all the doors. Go through the bottom right door, then exit immediately.
You'll be greeted with two chests, one of which has an Herb Flask. Leaving will put you back in a room with a bunch of beds.
Return to the main area with all the doors. This time, go through the top left door (not the one with the blood stain in front of it). You'll arrive in a hallway with no sound. You'll get Hans's Machine Gun.
Go through the top right door now. Instead of leaving immediately, continue through the hallway. Continue all the way to the end, past the door. You'll arrive at what looks like an empty wall. Interact with it and a door will appear. Go through it, then talk with Tweedledee and Tweedledum. Exhaust their dialogue, then leave.
Before entering the door we passed, save.
Run past every enemy there is. Do not fight the Brain Surgeons. Run down the left side of the room and you'll reach another door. Go through it and you'll unlock a shortcut. Now, go back and run past all the Nurses and the Brain Surgeon into the door at the middle of the room.
Once inside, use the Scent of a Girl item and save. You should arrive at the fog wall with a book. Summon the NPC to help you, then we'll start our next boss.